
It was raining today, so I decided to take the opportunity to actually record what gutting process has occurred so far.
At first, we thought the interior was in original condition, and we really wanted to just fix it up. But upon doing some research, we found out that most of the inside had already been restructured and poorly renovated in 1995, so we decided to go a whole different route with it and make the tentatively-named Starcatcher a psychedelic experience machine.
As we plan to travel and have some very rich experiences in the bus, we really want to make it a comfortable and inspiringly dreamy place to chill, veg, and enjoy various experieces.
We started by evaluating the space on the interior:

Looks good, but the walkway was really cramped in between the seated table area and kitchen. We'll talk about the back area another time.

The kitchen was definitely in pretty good shape, and I really liked all of the old appliances.
It's also VERY expensive to replace RV appliances. So we decided (well, our budget decided) that we should keep our existing old ones and just shine them up. They'r'e cool and vintage, and they work!
The fridge is very sexy on the outside, glossy and smooth with no damage...

The inside is clean, but stained.
The stove is pretty much pristine...
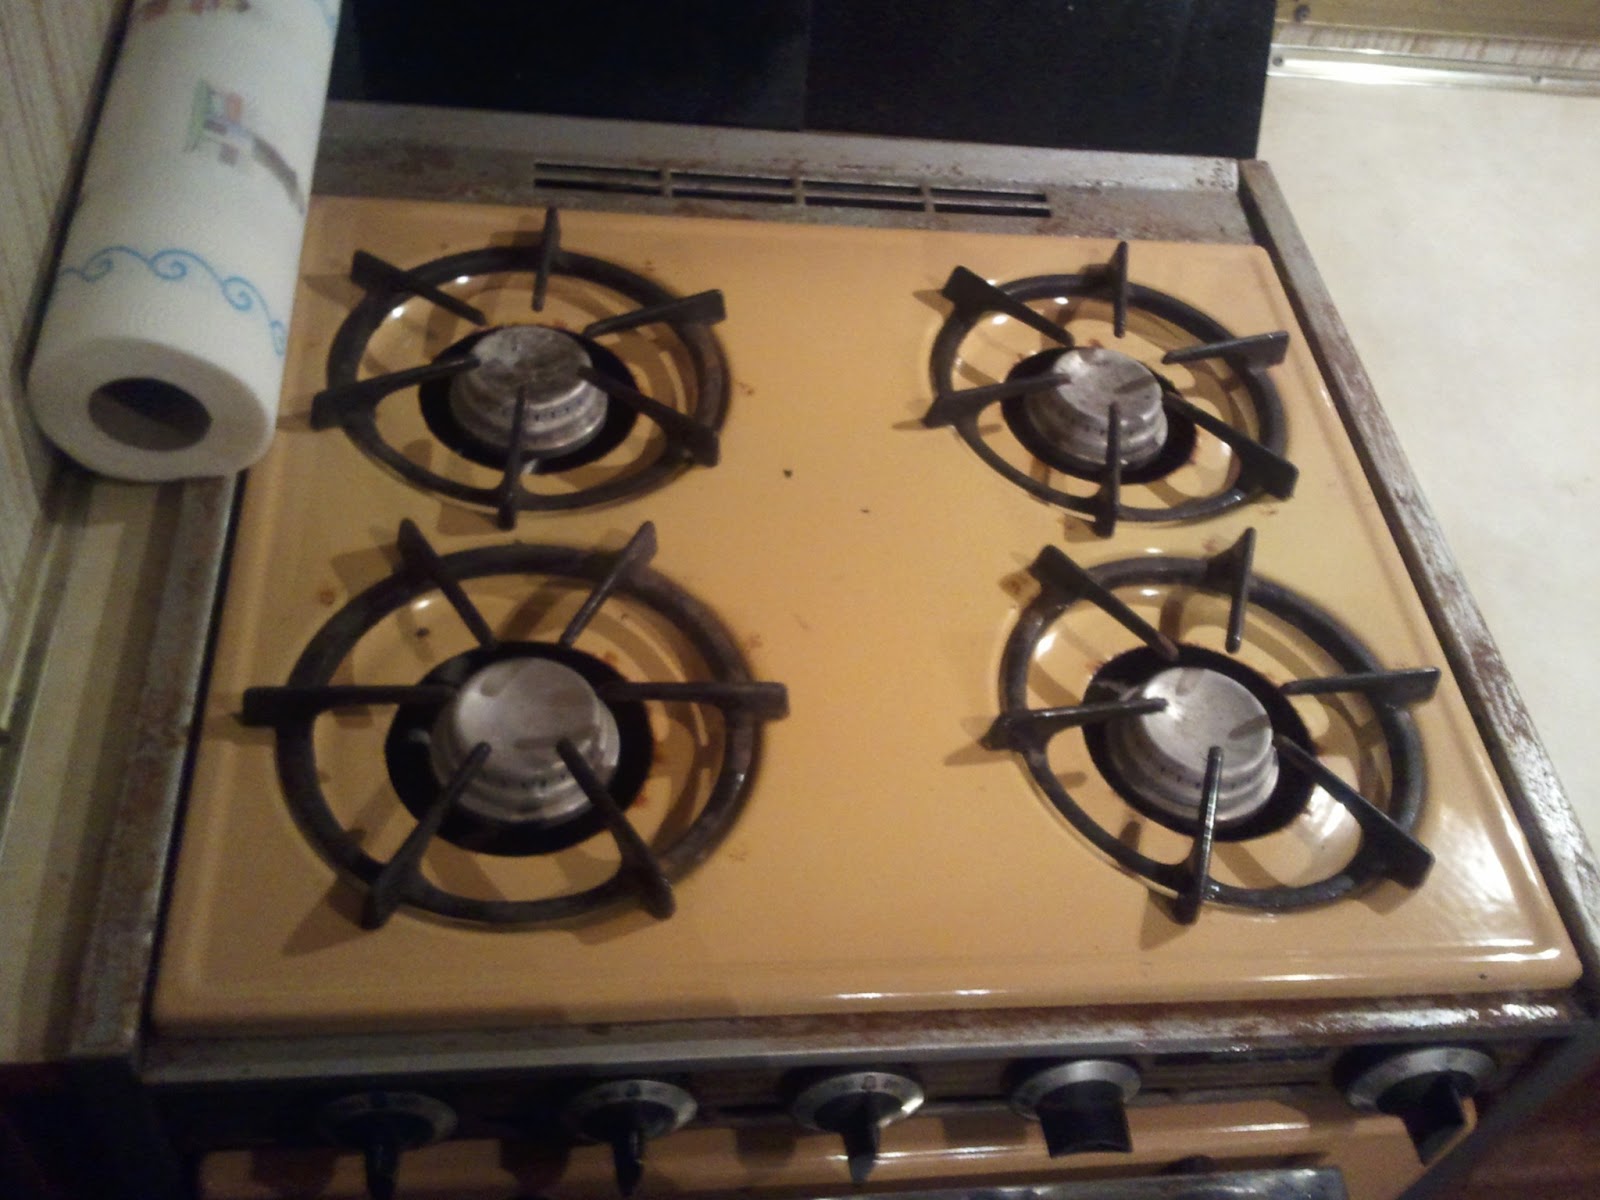
It has a few minor rust spots, but really nothing that can't be lightly sanded and repainted with high-heat enamel and then sealed.
My main issue definitely was the table area.

Notice how the seat juts out past the wall into the walkway area? This does not fold up or tuck in in any way and is annoying when you're trying to walk back and forth. Ryan is not a small man, and I've got my family's traditional curves - this did not work for us.
So I started by taking out the seats and the backs.
 The biggest problem was that back that would not detach from the paneling wall.
  But this is no big deal since we'll be pulling out that paneling very soon also...
Since, of course, there was termite and mold damage inside :/ It's OK, I expected it.
 Next, I took out the other side, and cut out the seat belts until I could get the bolts up off the floor.
I also cut away the 40 year old piece of plastic that was on top of the carpet.

OMG. Disgusting.
It was a LOT of work, but thankfully Ryan and Saint Mechanic helped out (kind of). I'm excited to start looking into materials for walls and floors, and to start designing the new seating area. Any suggestions on environmentally friendly, lightweight, affordable flooring would be fantastic. I only need about 50 square feet of flooring, unless it's inexpensive and able to be used for walls - in which case I would need probably around 200 square feet, possibly more.
But first - before fun stuff like design - more demo. Next up: removing old cabinet doors. *sigh* I gotta rest first...
No comments:
Post a Comment